Vinyl wall graphics are a great way to add high quality custom imagery to your building for an affordable price. But, if not prepped or installed properly, vinyl graphics can look cheap, peel off, or even damage paint and drywall. In such cases, homeowners may find themselves in need of professional assistance to rectify the damage and restore the integrity of their drywall.
In cases where the drywall has been affected, proper drywall installation becomes imperative to restore the surface to its original condition and provide a sturdy foundation for any future enhancements. By prioritizing both the preparation and installation of vinyl graphics and the integrity of the drywall, homeowners can achieve a visually pleasing result that withstands the test of time.
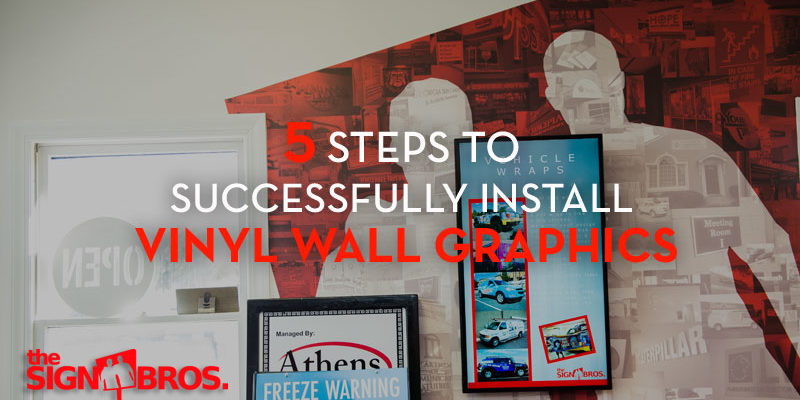
This post will show you 5 common reasons that vinyl graphics fail, and explain how these failures can be avoided.
1) Choose the right kind of wall
The more textured a wall is, the more difficult it will be for standard vinyl to adhere to it. Concrete walls can vary greatly in texture from extremely smooth, to extremely rough textured. For high texture walls like brick and concrete block, you will have to use specialty vinyl similar to 3M IJ8624. Wrapping a brick or concrete wall is more costly & time consuming, but the finished product looks fantastic. Make sure you are aware of what walls you will be applying vinyl to, what material those walls are made of, and how textured that material is.
2) Choose The Right Kind of Paint
A wall’s paint or finish will greatly effect vinyl adhesion. Gloss paints are the easiest for vinyl to adhere to, while matte paints are the most difficult. In the past few years, paint manufacturers have come out with paints that resist dirt and grime and are easy to clean. It just so happens that the properties that make these paints dirt resistant and cleanable also make them resistant to vinyl application. Other paints have come out with low VOC levels (Volatile Organic Compounds) to make them less harmful to the environment. Low VOC paints resist vinyl adhesion as well. Textured paints can also cause a problem for vinyl adhesion – similar to a brick wall.
3) Properly prepare the wall
Pealing paint, scratches, gauges, and other imperfections will make a graphic look bad, and could keep a graphic from sticking. Any imperfections in a wall should be repaired before applying wall graphics. If the wall needs painting, make sure to clean off the wall before painting. Any imperfections in the paint will be visible underneath the vinyl and may cause it to peal up. If there are bumps in the paint, you will need to sand them down. Once a wall is painted, it’s best to wait at least one week for the paint to cure before applying vinyl.
4) Run A Test
Before you settle on the location of your wall graphic and the kind of vinyl you will use, it’s best to run a test to see what vinyl will work the best on the application surface. We have professional testing kits in our shop, and our team can help perform a vinyl adhesion test at your site. In order to achieve maximum adhesion, follow the following steps from 3M:
- Wipe down the wall two times with a mixture of 70% isopropyl alcohol and 30% water
- Wait 10 minutes
- Firmly apply strips of vinyl to be tested to the wall
- Wait 15 minutes
- Use a spring scale to measure the force it takes to remove the vinyl pulling it at 1″ per 5 seconds
- The vinyl should require above 400 grams of force to remove and below 1200.
5) Get an experienced vinyl installer
While there are vinyls that are very easy to apply, in general, vinyl application is a tricky process. It’s easy for someone with little experience to apply vinyl with wrinkles, or crooked on a wall. Different vinyls require different application techniques and equipment to install properly. An experienced installer will know what will work best in a particular situation. It’s best to have an experienced installer perform vinyl application, or to at least consult an experienced installer before application.
Just as vinyl application requires precision and knowledge of techniques, constructing a home tailored to one’s desires demands meticulous attention to detail and experienced craftsmanship. Homeowners embarking on projects involving wall designs or larger-scale renovations can benefit immensely from the expertise of reputable builders. With their guidance and expertise, homeowners can turn their aspirations for the perfect living space into a reality, with every element meticulously executed to perfection.
The lifespan of vinyl wall graphics will vary depending on a range of factors including: the kind of vinyl used, the amount of direct sunlight the vinyl is exposed to, the humidity, and more. If the steps above are followed, your vinyl wall graphics should not come off the wall prematurely.
No comments yet. You should be kind and add one!
Our apologies, you must be logged in to post a comment.