When most of us hear the words “vinyl graphics installation”, we think of a daunting and meticulous task that can only be perfected by a trained professional like those from Zerorez. In reality, many vinyl applications and installations can be simple, single-person DIY procedure – if you have the right tools and know what you’re getting into. Like Unlimited Graphic Design Services, the term graphics can be associated with many things that require professional touch, or can be done by anyone.
This step-by-step guide was designed by a Sun Tint service for commercial properties to help our clients install their Sign Bros. produced graphics to any window or wall like a pro.
Tools Needed
- Utility Blade (Olfa)
- Level
- Flat Edged Squeegee
- Isopropyl Alcohol
- Painter’s Tape
- Microfiber Cloth
- Tape Measure
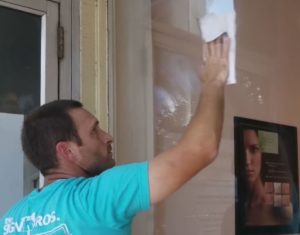
STEP 1: Prepare the surface
If the surface is a window, use the isopropyl alcohol and microfiber cloth to wipe down the area the vinyl will be applied to or click this link now to know other options available.But, through this, it clears any debris that may become trapped under the vinyl. Examine the surface to check for raised objects or damage that may prevent the vinyl from completely sealing flat with the surface.
STEP 2: FIND THE CENTER POINT
Using the tape measure, locate the center point of the wall or window in which the graphic will be applied. Use painter’s tape to mark the point.
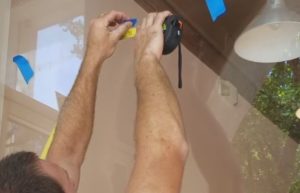
STEP 3: TAPE & Hinge
Align the surface’s center point to the center point included in the vinyl graphic.
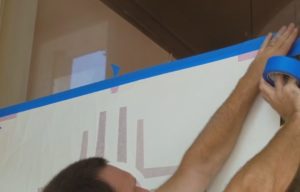
Once the center of the graphic is aligned with the center of the wall or window, use the level to position the graphic using the two rectangles on the outside of the sheet. Now, run a strip of painter’s tape along the top or down the center to create a “hinge.”
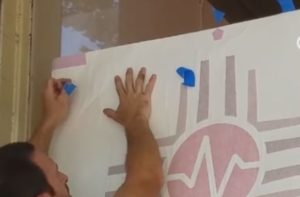
STEP 4: Remove the Backing Paper & Apply
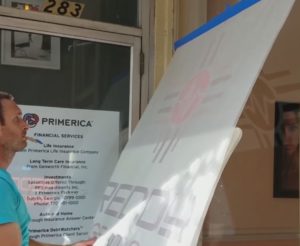
Using the hinge created in step 3, peel the backing paper down and away from the masking tape suspending the vinyl between the surface and the tape.
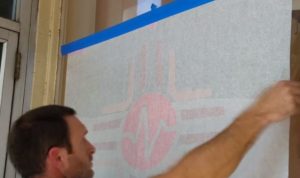
 Now begin applying the vinyl using our squeegee by performing overlapping strokes. Slowly work your way from top to bottom until the entirety of the graphic is sealed against the surface.
STEP 5: REMOVE MASKING TAPE
Slowly peel the masking tape away from the window. Use a downward, or an across, low-angle pull for best results. This method will ensure that the vinyl does not pull away from the surface with the tape.
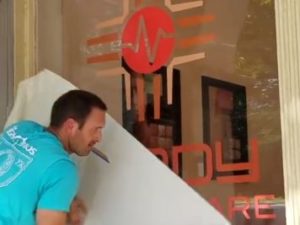
Once we have completely removed the masking tape, our installation is complete! Be sure to remove the leftover center points, level lines and painters tape before packing things up.
Need to apply vinyl to a wall? Check out our post laying out the 5 steps you should follow. Subscribe to our blog to stay up-to-date on more installation tips and techniques!
No comments yet. You should be kind and add one!
Our apologies, you must be logged in to post a comment.